
Additive Light
Using light to sculpt the subject requires a degree of directional light that skims and rakes across the subject to create form, shape and texture. This will be true when working with natural light or artificial lighting. In either case, the efforts of the photographer to create a directional light pattern also creates shadows. In that the photographer is responsible for creating or directing the light onto the subject, so too is the photographer responsible for handling the shadows that are created. In some cases, the shadows may be too strong or too deep that
additional (additive) light will be required to provide some degree of illumination of the shadow area.
In the studio environment, this task is usually handled by a “fill” light. With natural lighting, this job may be handled with a reflector, portable flash or some other light source. Where the main light is used to create the directional pattern of light on the subject, the fill lights job is to take care of the shadows. The illumination of the shadows by the fill light determines the lighting ratio of light on the subject.
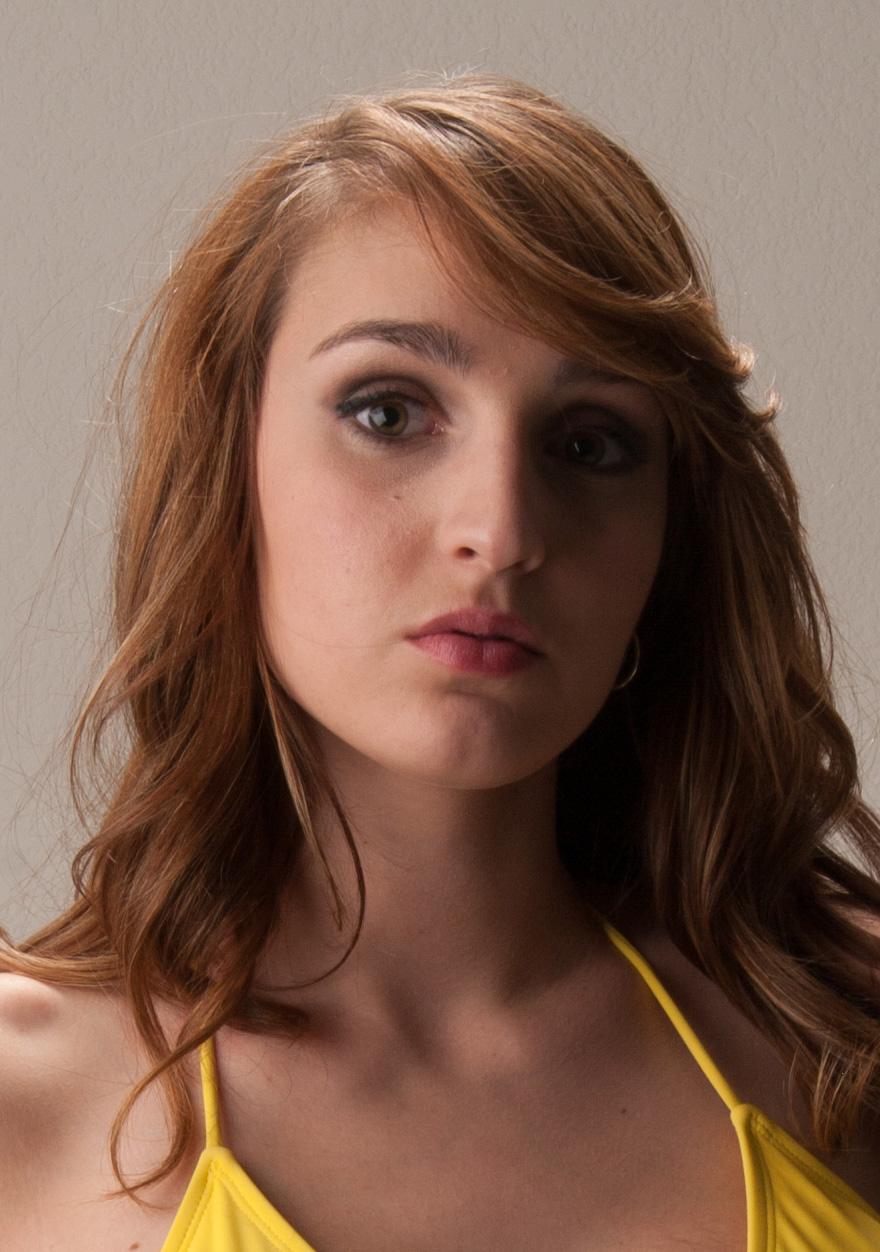
In the test image at left, only the main light is used. I was setting up to do a swimsuit image for her portfolio, so I placed the main light to camera left so that the light would rake across the body to bring out the curves and shape of her body. This test image shows the deep shadows that were created from the main light.
I need the shadows because raking light brings out texture and detail, but I did not want the shadows to be that strong.
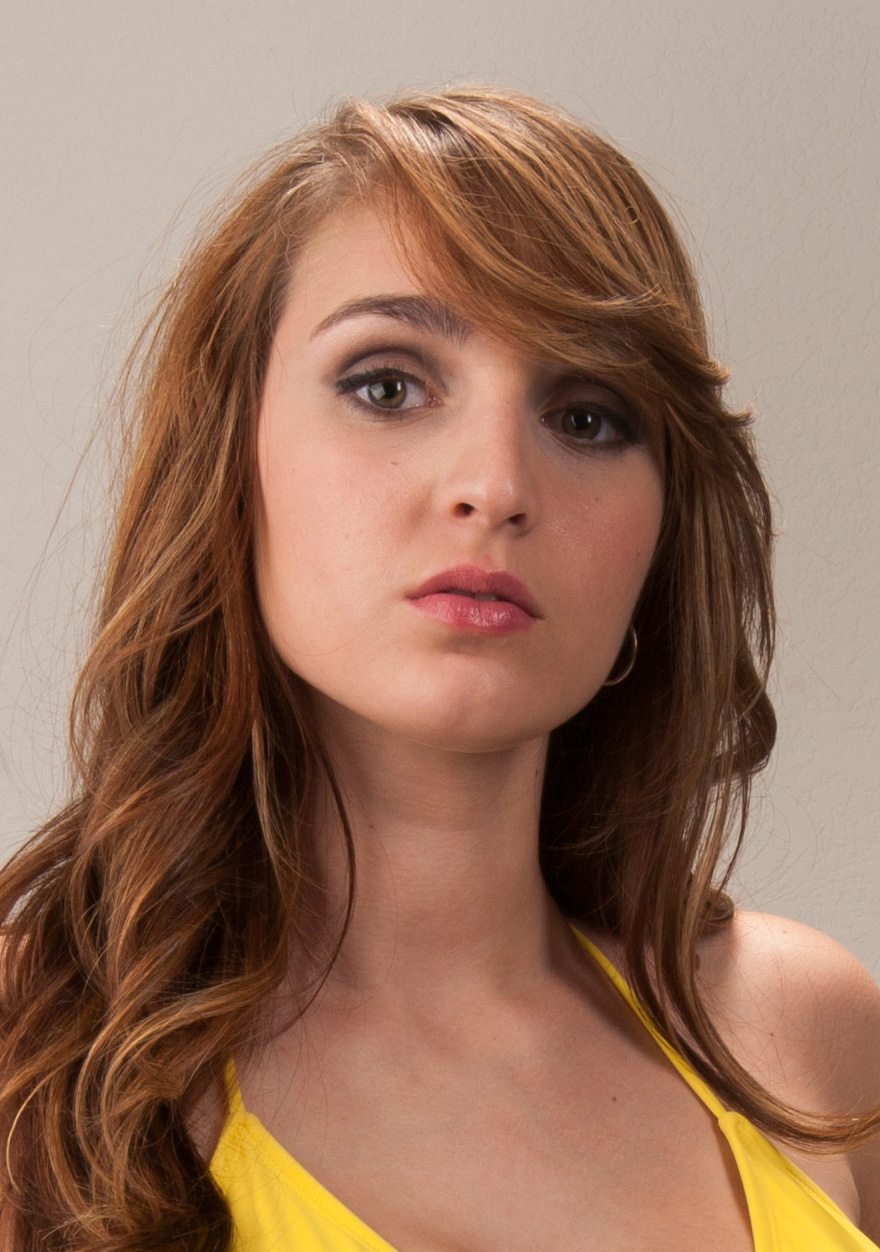
Adding a fill light behind the camera now adds light to the shadow side. I am going to control the shadows by adjusting the intensity of the fill light.
In the test image at right, I decided the fill was a bit too strong making the overall lighting appear too flat. Flat lighting would not bring out the curves and contours of her body, so I elected to power down the fill light one more stop.
The final result gave me a nice lighting pattern with form and shape but with good detail in the shadow areas.
Control of the shadows can also be handled with any number of reflector types in the studio or with natural light. In some lighting scenarios, the main light may be provided by light bounced off of a reflector and the ambient light may be used as the fill.
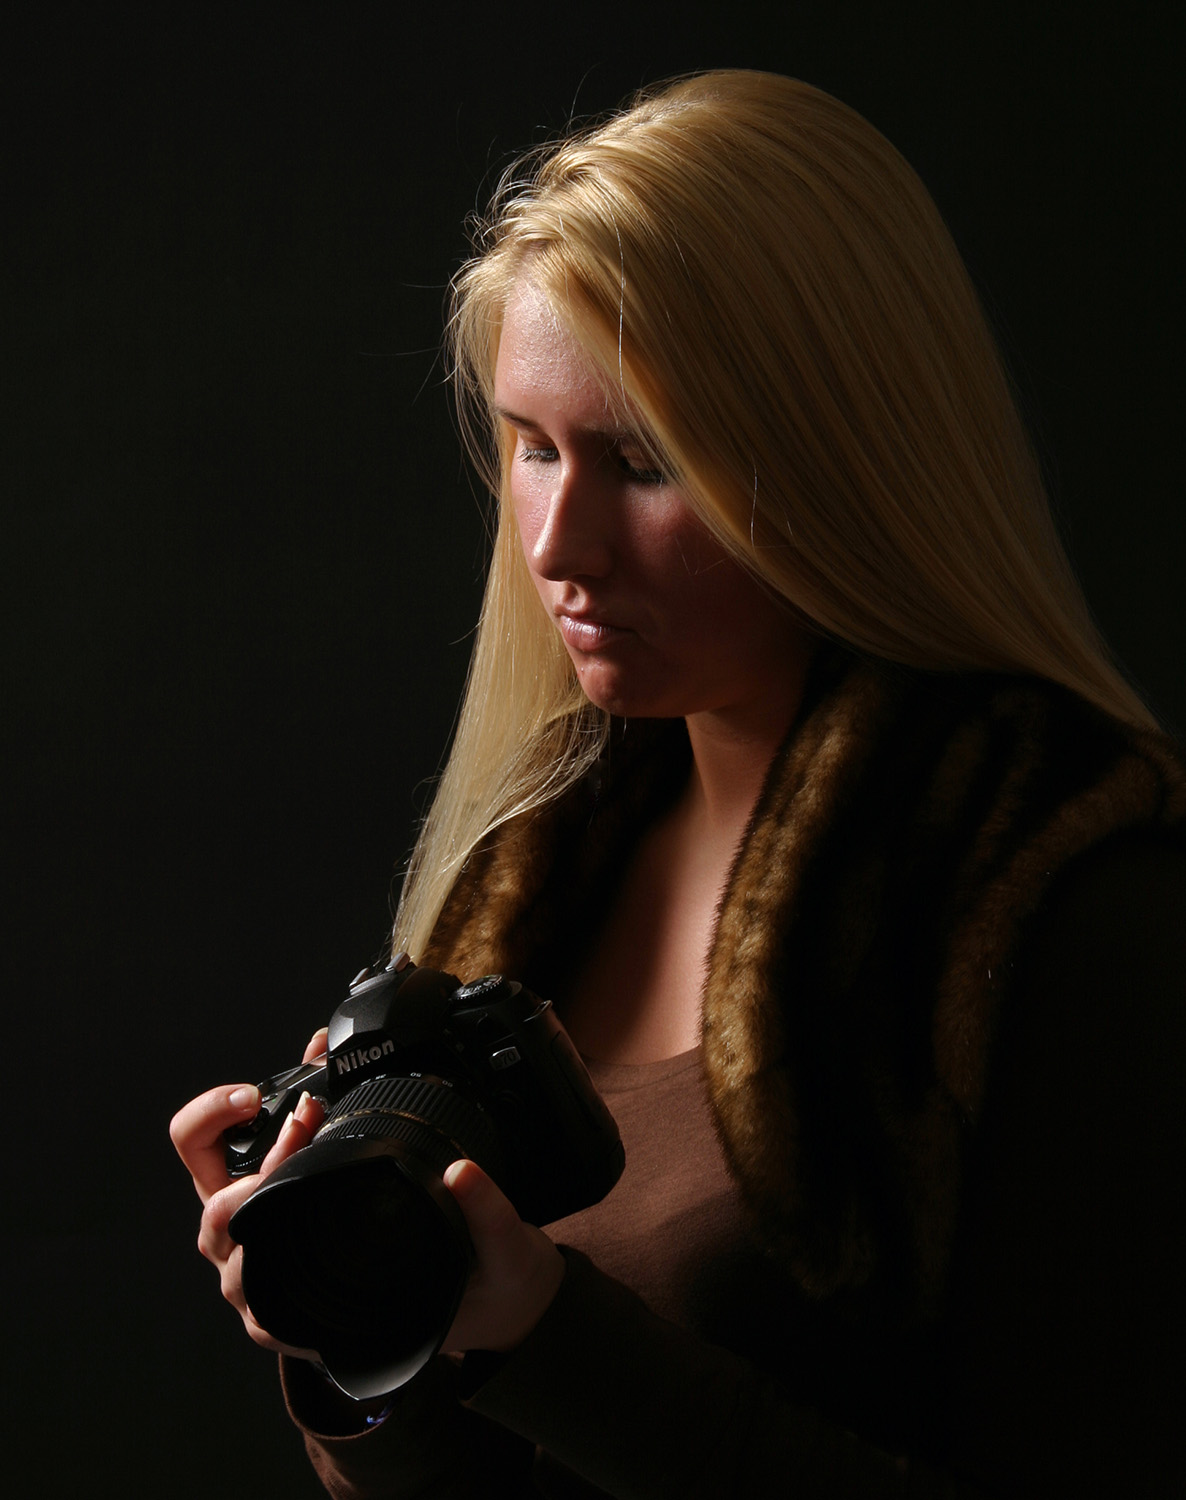
In the image at left, I created a dramatic lighting pattern that also created very deep shadows.
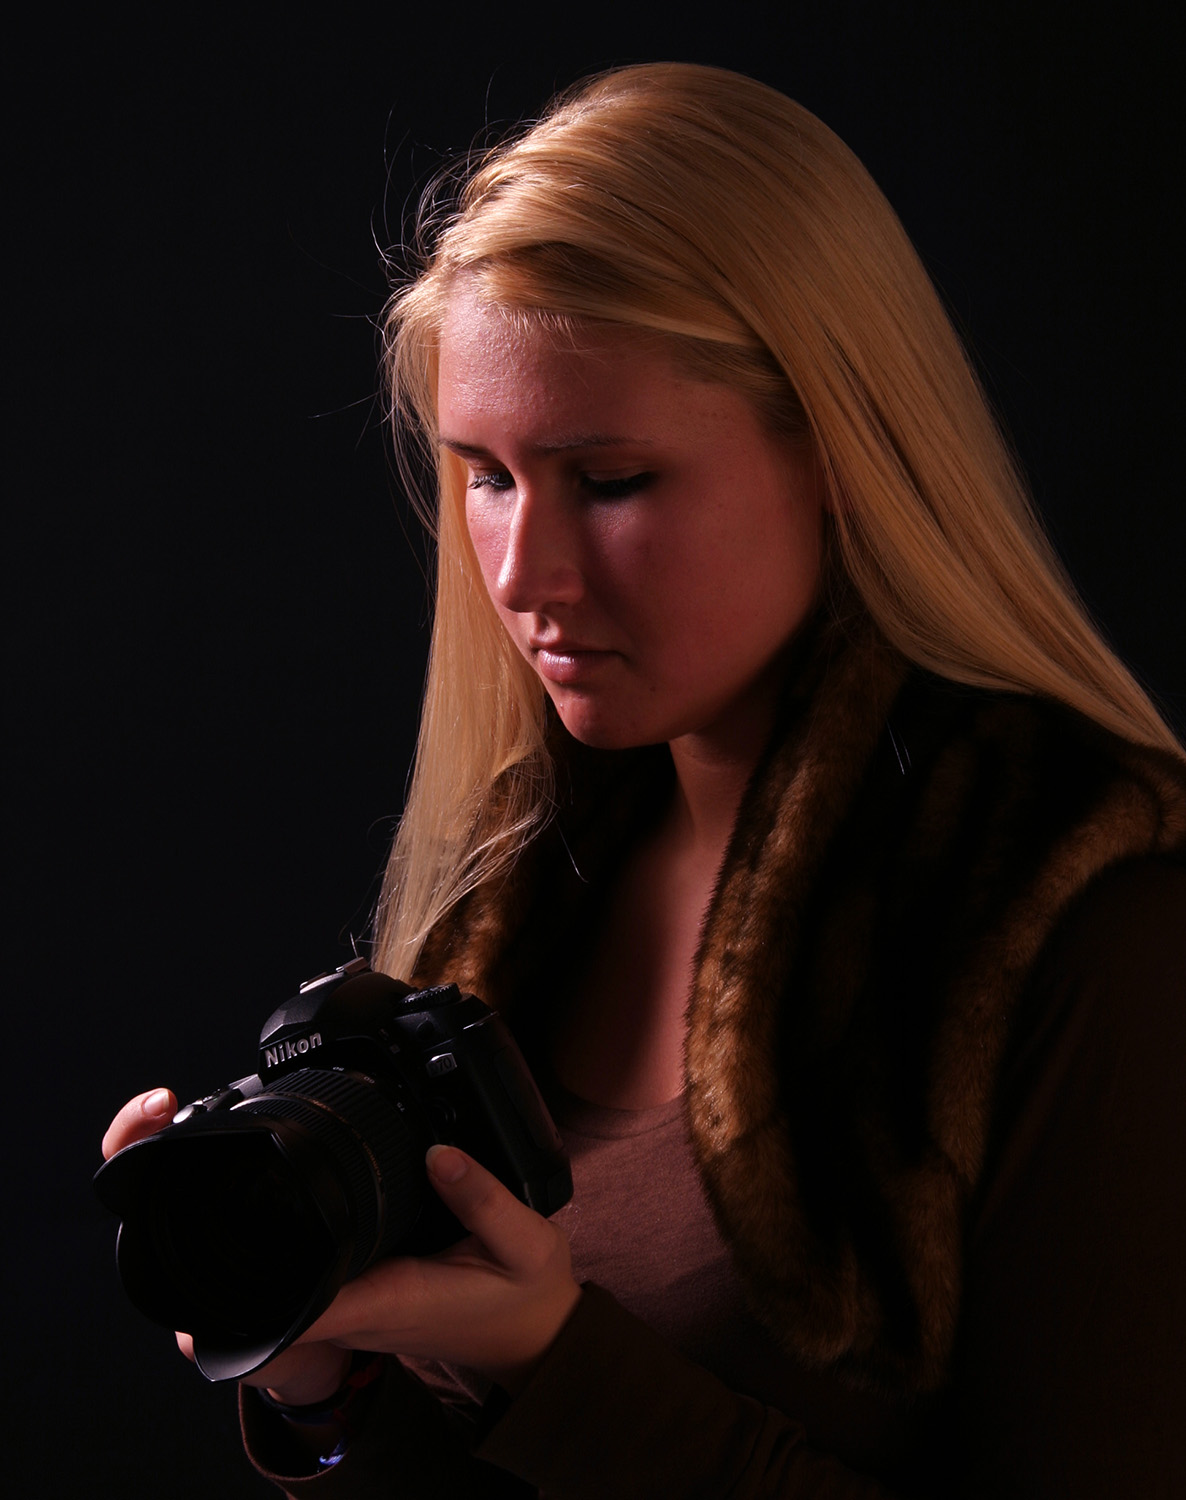
In the image at right, I added a gold reflector to lightly fill in the shadows.
The degree to which the shadows are filled is strictly a matter of taste. By feathering the reflector, I could increase or decrease the intensity of the reflector fill. I ultimately selected a pose in which the amount of fill was even less than shown here because I liked the dramatic look.
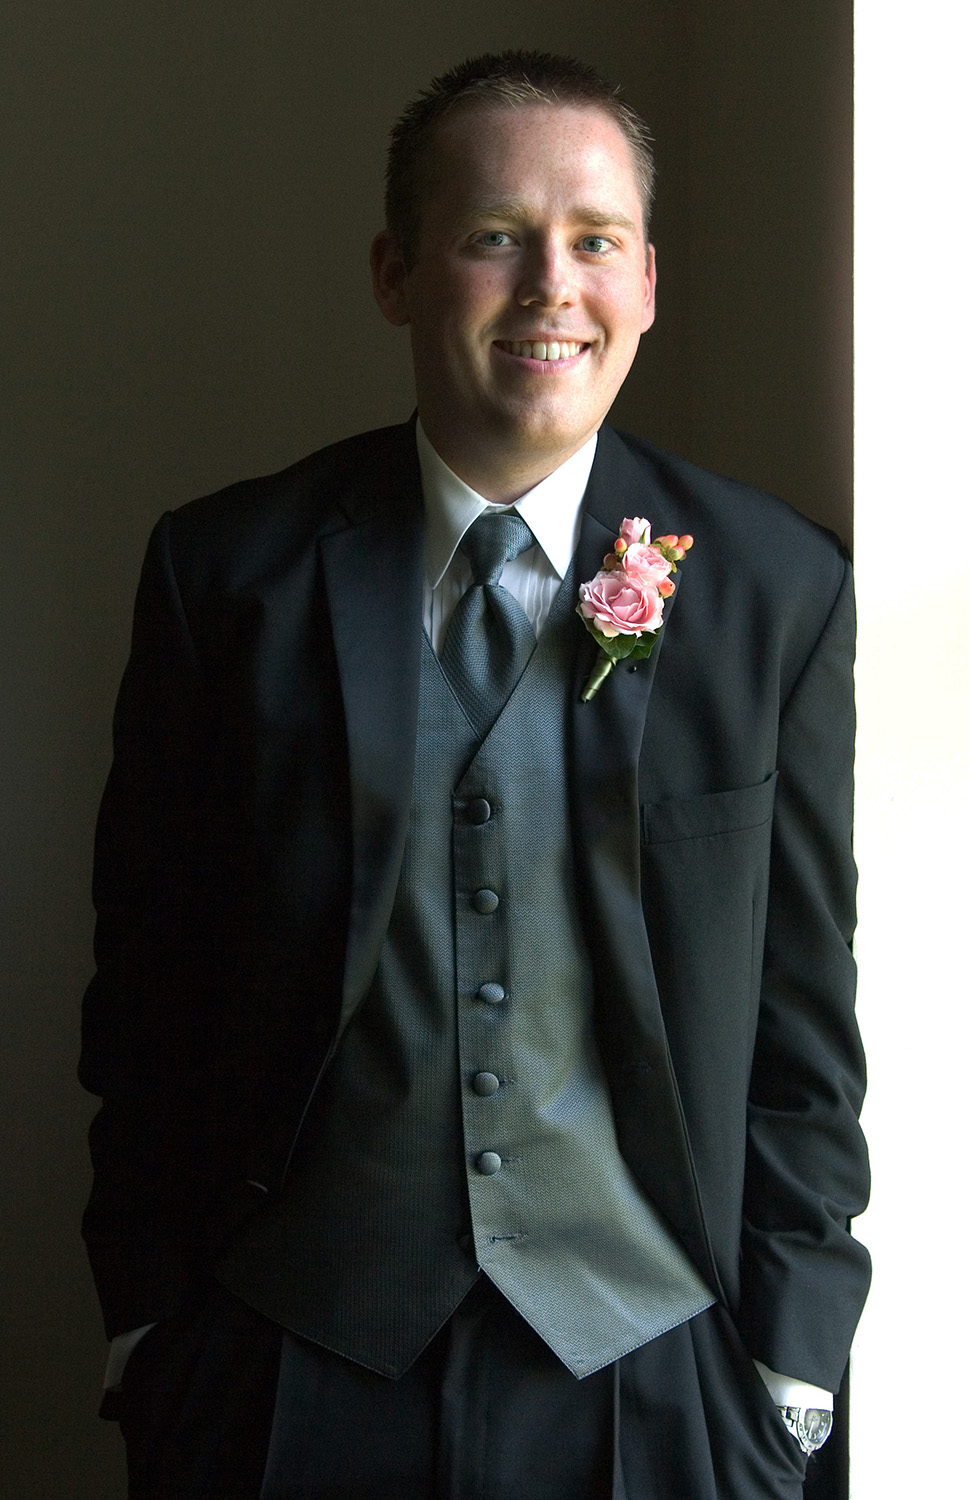
The image at left was taken with natural window light. I felt like the lighting had too much contrast as the shadows were particularly deep.
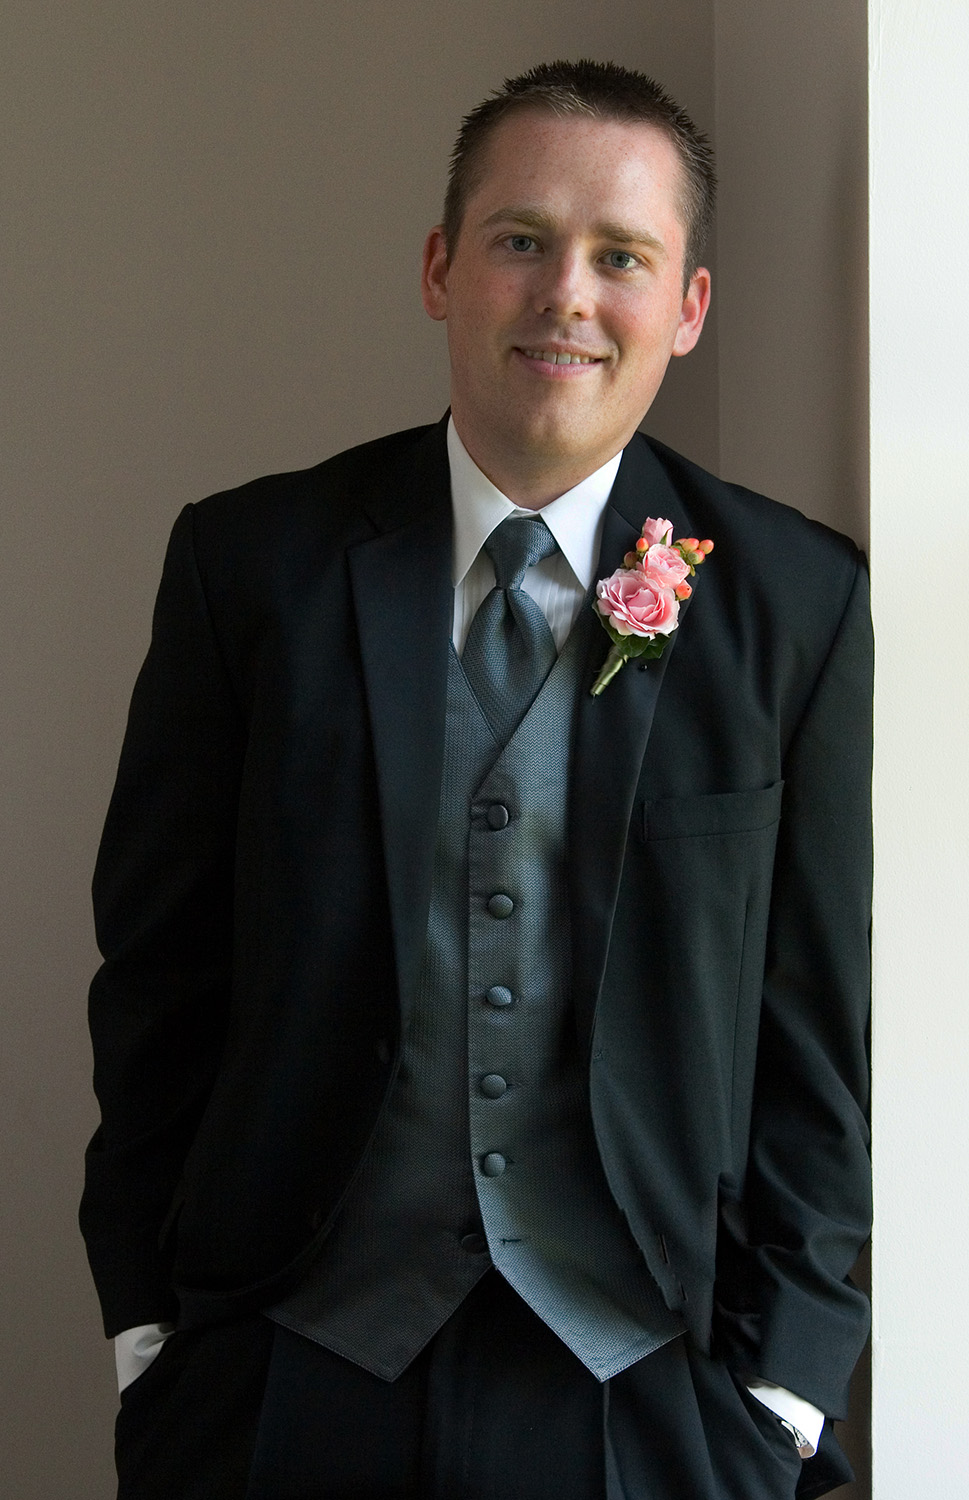
In the image at right, I used an additive lighting technique by bouncing a bit of light from my portable strobe off of the wall and ceiling to my left.
This raised the illumination of the shadows just enough to provide detail and a nice balance to the lighting pattern.
Subtractive Light
In some cases, a photographer will need to keep light from reaching the subject in order to create a more desirable or a more directional lighting pattern. In using a subtractive lighting technique, the photographer will block unwanted light or reduce the amount of incoming light in order to achieve the desired result.
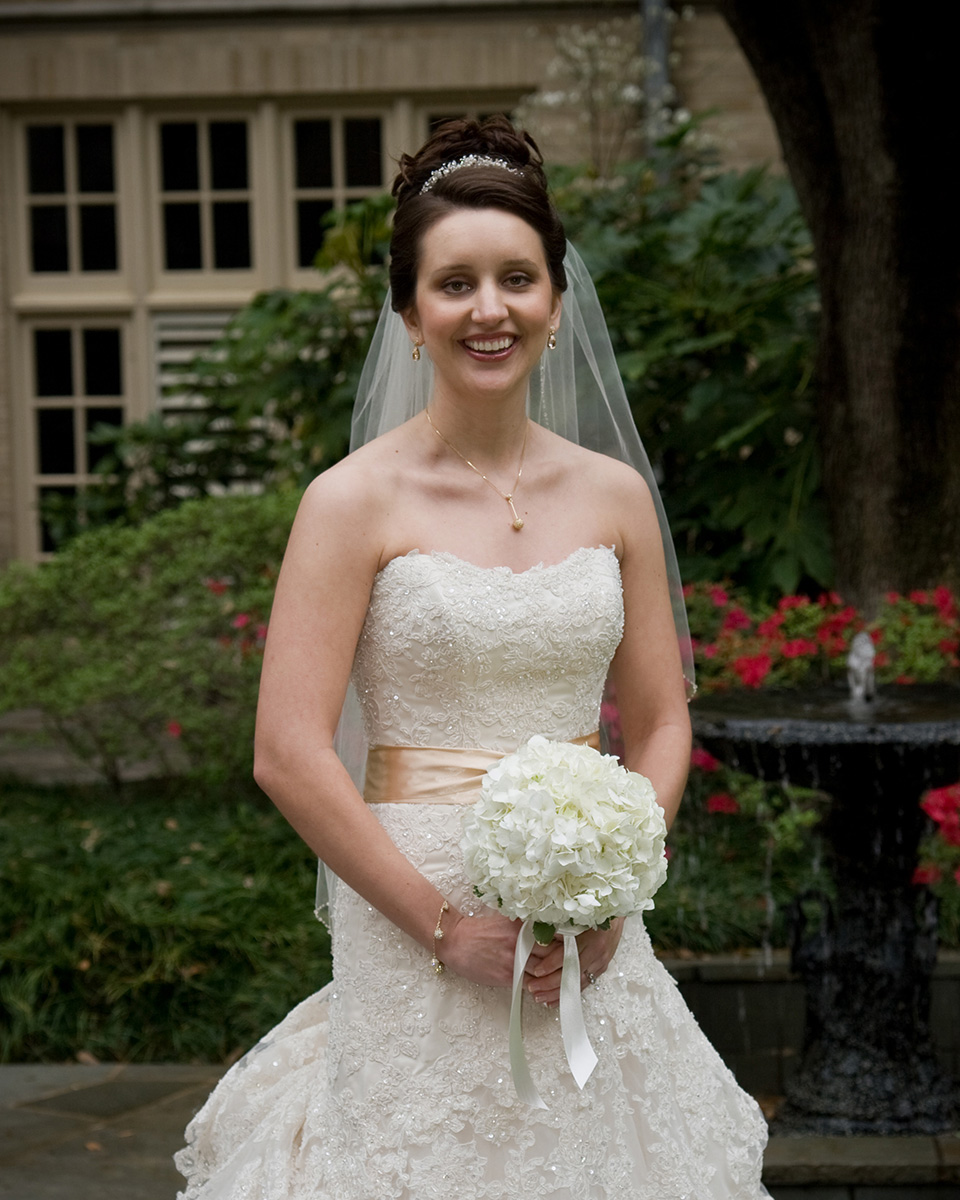
In the image at left, there is so much overhead light, that I am not getting a good directional lighting pattern. The light from above is causing deep shadows in the eyes and strong highlights on her cheeks, forehead and the top of her dress and flowers.
I could have elected to use an additive lighting technique and introduced a bit of flash onto the subject to create a directional lighting pattern and eliminate the dark circles in her eyes.
Instead, I chose to use a simple subtractive lighting technique. By using a nearby covered walkway as a canopy to block the overhead light, I was able to redirect the direction of light to the side providing me a wonderful directional lighting pattern.
The canopy allows the side lighting to rake across the body providing texture and detail in her dress and flowers. It also provides nice illumination to the eyes and face.
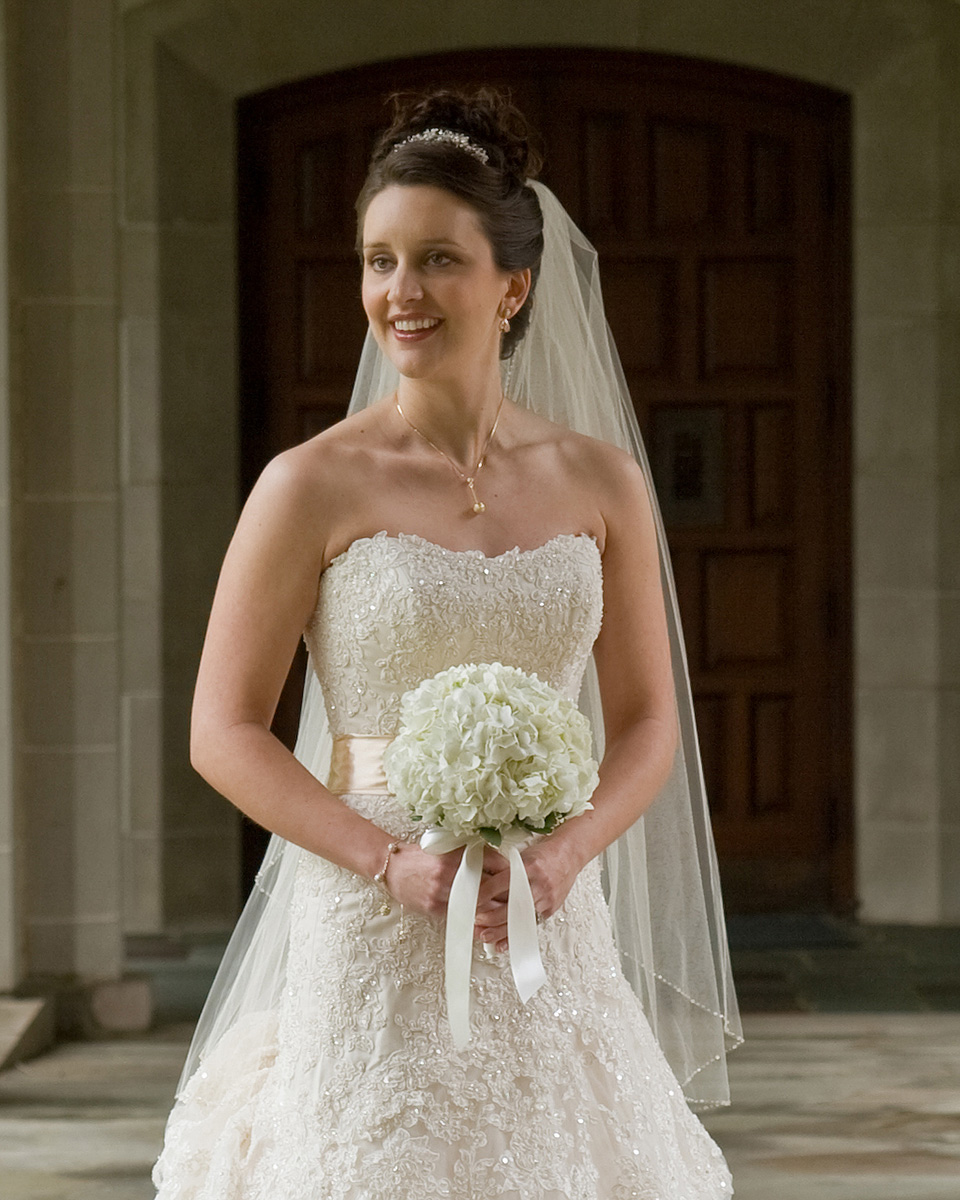
The architecture of the church provided me with a canopy to block the overhead light, but this could also be done in some instances with a large black reflector or scrim.
In the image at right, I used a similar subtractive lighting technique to eliminate the contrast of the harsh, direct sunlight seen in the background.
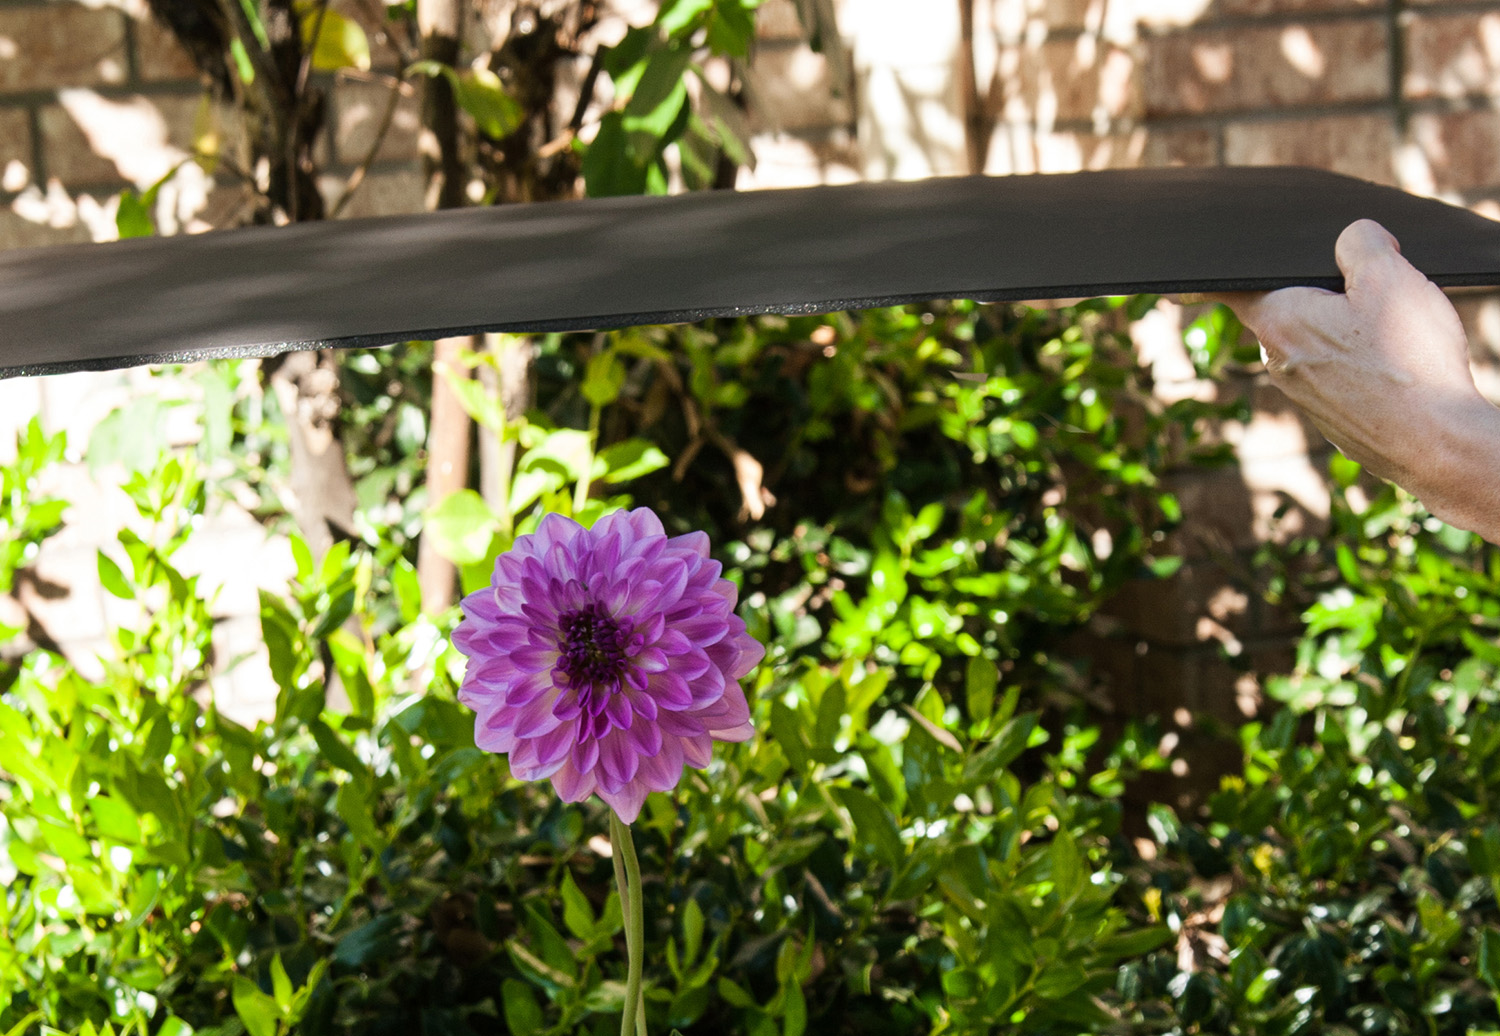
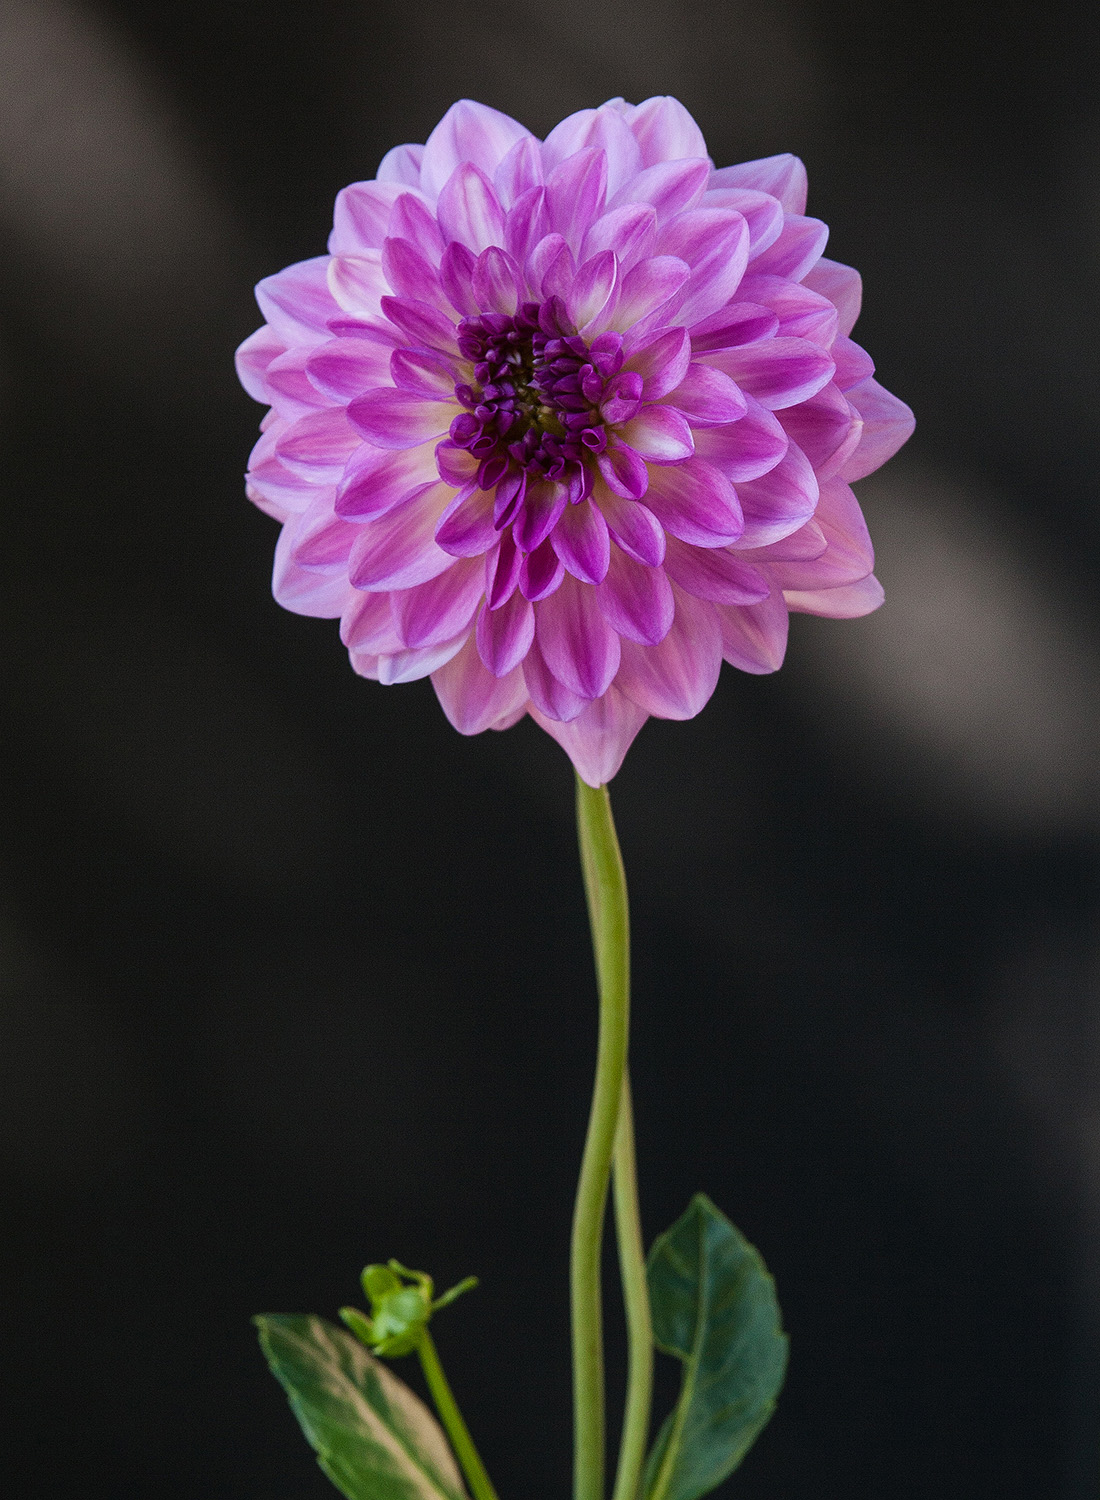
Creating this canopy also helped create a bit more of a directional lighting pattern on the flower. I also added a second mat board to simplify the background.
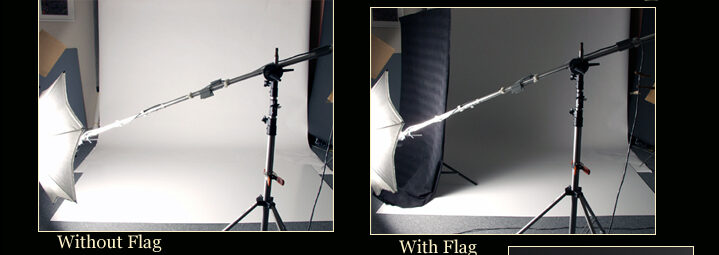 In the studio set up above, I am using a flag to eliminate some of the light from striking the background.
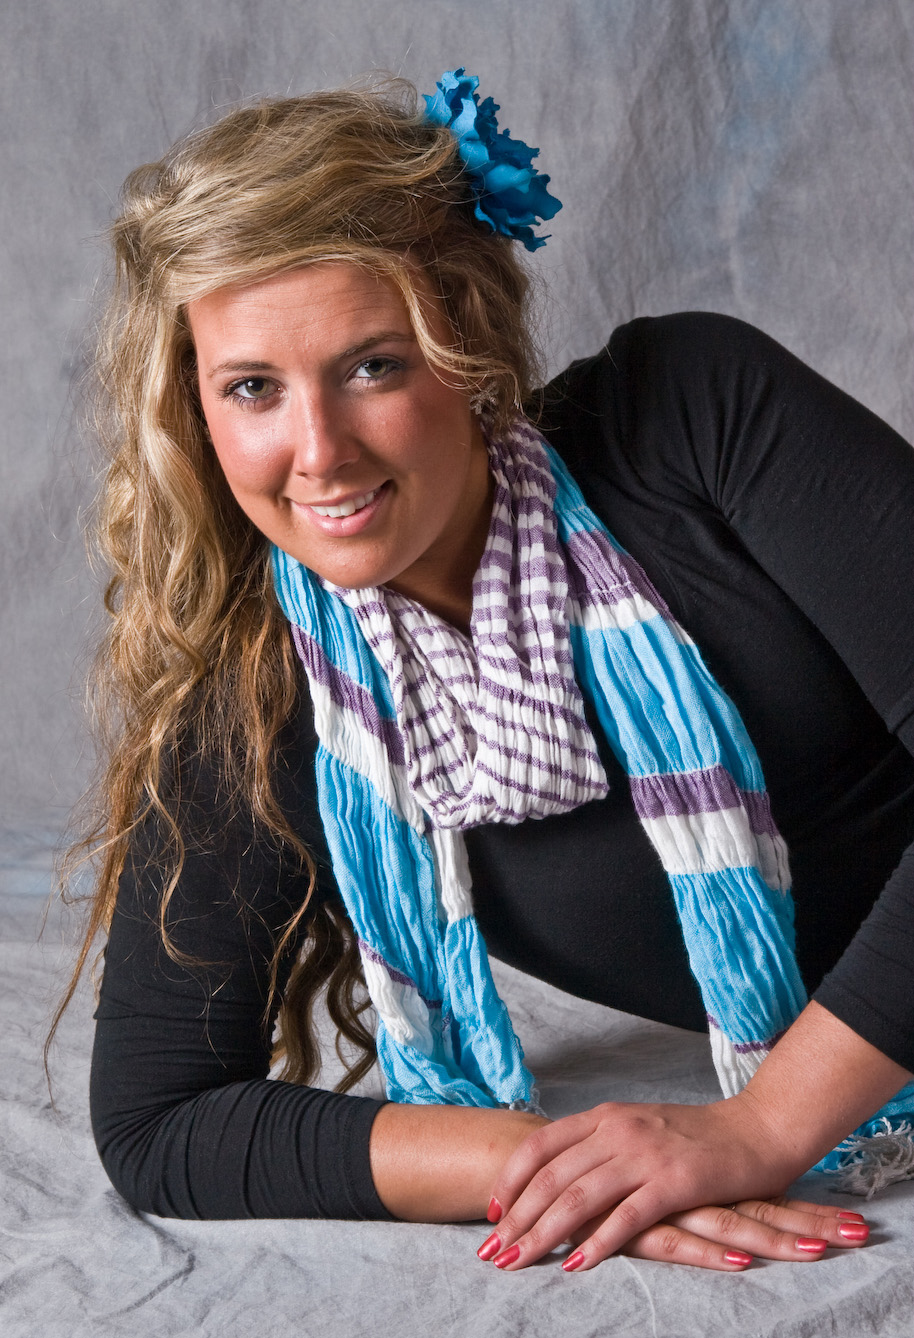

The result of the same set up is shown here. The image on the left is lit entirely by the main light. Not only is it illuminating the subject, it is also illuminating the background.
By using a subtractive technique, I place my flag in between the main light and the background to keep the light off the background. I feathered the flag in such a way that I even blocked some of the light on the subject’s right side to darken her hair and her arm.