
 Inevitably, a photographer is going to be in a position where lighting of various types and color will come into play. For example, you may find yourself having to mix artificial light sources with natural light sources or even mixing various types of artificial light.
The image right was a screenshot of a local official who was doing a press conference. It is one of the worst examples of mixed lighting I have seen. The warmer ambient light overhead is clashing with the blue light emitting from his monitor in front. This situation would have benefited greatly from an added light source in front to overcome the effects of mixed lighting.
 The keys to the solution of using mixed lighting sources is:
A. To overpower the ambient light with supplemental lighting, or
B. Determine the color temperature of each of the light sources and then using color
corrective gels to bring the color temperatures in line.
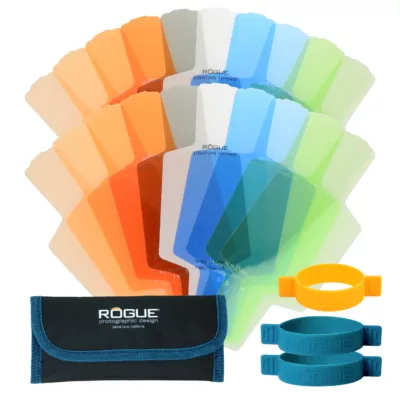
It is helpful to have an assortment of color
correction filters for the various light sources you might encounter.
Example 1
A typical scenario might include photographing at a church wedding. Many of the images that are created at a wedding take place in the sanctuary where the primary lighting is a tungsten light source which illuminates the congregation and, perhaps, even stronger tungsten lighting to cover the alter area. The color values of these areas could easily range between 2800K—3400K.
If you photograph the wedding party at the altar with a flash, you are now mixing a daylight balanced flash at 5500K with the 3000K lighting at the altar. Setting the camera’s white balance to “flash” or “daylight” will provide a proper color for the wedding party. The color values in the church will shift to “orange”.
Setting the white balance to “tungsten” while using the flash will make the color of the church look good, but the color of the people lit by the flash will go awry.
The solution:
Add an orange color correcting gel to the flash which changes the “daylight” color balance of the flash to an equivalent “tungsten” value and set the camera white balance to “tungsten” (roughly 3200K).
CTO (color to orange) filters will be available at various shades to fine tune the desired
tungsten temperature setting.
Example 2
Photographing indoors with hot lights that have a color temperature of 3200K. The scene includes light coming into a large window that brings 5500K daylight into the room. If you set the camera white balance to daylight, the supplemental hot lighting turns orange. If you set the camera white balance to 3200K, then the color of the incoming window light shifts.
Solution 1: Use blue (CTB – Color to Blue) color correction gels over the supplemental hot lighting which changes the white balance to daylight and set the camera white balance to 5500K.
Solution 2:
You could use the hot lights
without a gel, but cover the entire window with a CTO color correction gel which changes the white balance of the window light to tungsten and set the camera white
balance to 3200K.
Either solution will work.
In situations where filtering the light is not practical, RAW capture will provide you with the opportunity to make corrections to the color in stages which can be combined to create the final image with proper color. It may be best to consider the primary light source on the subject when selecting the white balance, then use RAW corrections on the rest of scene.